Have you ever come across GIFs on Instagram and wondered how they got there? Continue reading to learn more about this and many other topics.
Instagram has become one of the most popular social media platforms worldwide. It allows users to share pictures and videos with their friends, family, and the world. The social media app has more than 700 million monthly active users and more than 500 million daily active users.
It’s no wonder that more brands are using Instagram to market their products and services. So if you’re on the hunt for a new way to express yourself on Instagram, you might want to start with GIFs. The GIFs are those looping videos that are so popular on Tumblr and other social networks. They can be used for a variety of purposes, but they’re most commonly used as a form of humor or as an emotional reaction to something.
GIFs are becoming more popular on Facebook, so it makes sense that they would make their way onto Instagram too! As a result, the number of users posting GIFs on Instagram continues to grow as well. If you are interested in creating or sharing your own GIFs, then you will want to know how to post a GIF on Instagram.
What Will Happen If You Upload a GIF Directly on Instagram?
Have you found an amazing GIF and saved it on your phone, waiting for its precious moment to upload it on Instagram? Well, it is indeed possible to upload the GIF directly, but the frame won't appear in motion as you would expect. Instead, it will appear as a single frame on your upload.
But there's a workaround! Here's how to go about it:
Step 1: Ensure the GIF in question is saved on your device
Step 2: Open the Instagram app and tap the [+] button on the homepage (This button is located at the bottom center of the homepage bar).
![Open the Instagram app and tap the [+] button](https://www.techuseful.com/wp-content/uploads/2022/05/Open-the-Instagram-app-and-tap-the-button.jpg)
Step 3: Instagram will automatically prompt you to select a file type (photo, video, or the library)
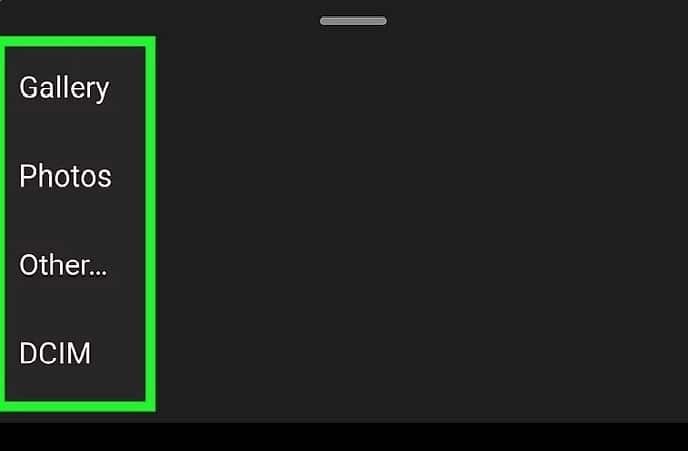
Step 4: Select the [Library] option to locate the GIF that should be already saved in your gallery's camera roll album.
Step 5: Locate the [GIF], crop it to your preference, and tap on the [Next] button.
![Locate the [GIF]](https://www.techuseful.com/wp-content/uploads/2022/05/Locate-the-GIF.jpg)
Step 6: On the next page, you can apply any edits of your choice from the filters to any adjustments that you may deem fit. You should, however, know that GIFs are always heavily compressed; therefore, it won't be best to edit them too much.
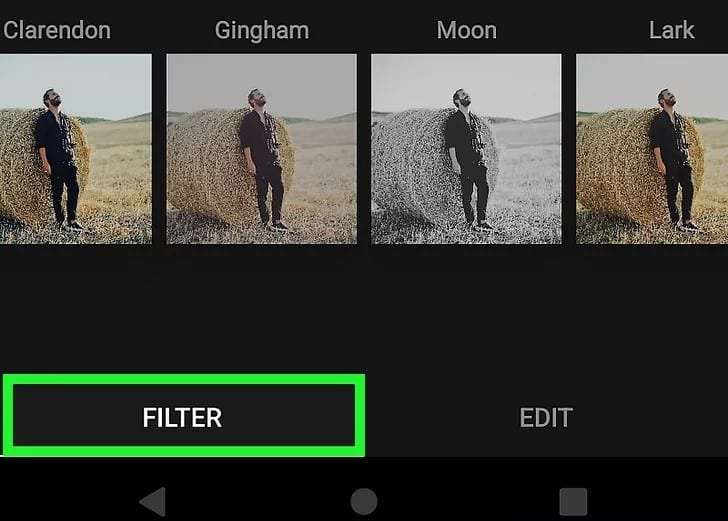
Step 7: Once you are satisfied, click on the [Next] button again. On the new page, you can add any hashtags, captions, and locations that you may want.
![Click on the [Next] button again](https://www.techuseful.com/wp-content/uploads/2022/05/Click-on-the-Next-button-again.jpg)
Step 8: Click on the [Share] button to complete the upload.
How to Post a GIF on Instagram by GIPHY
You don’t have to have any fancy software or plugins installed on your computer to post a GIF on Instagram. You just need the right link, which can be found by searching for the image you want in GIPHY’s search bar.
Here's how to go about it:
Step 1: Download GIPHY for iOS or Android.
Step 2: Sign up for the app. You can use the log-in via the Facebook option or sign up using your email. Logging in via Facebook makes using GIPHY quite enjoyable since you can always use it simultaneously for Facebook and Instagram.
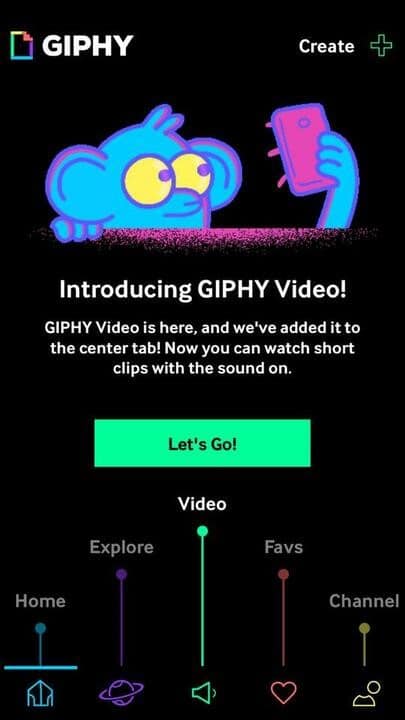
Step 3: Click on the [Browse new and popular GIFs] from the app's homepage. You can also decide to search using the keyword database. The best thing about this option is you can choose the keyword of your choice based on your immediate activities, character, and popular TV shows.

Step 4: Touch on the [Share button] that is designed with paper plane looks. You can also share the GIF directly to WhatsApp, Facebook, and any other social media applications.
![Touch on the [Share button] that is designed](https://www.techuseful.com/wp-content/uploads/2022/05/Touch-on-the-Share-button-that-is-designed-.jpg)
Step 5: Select the Instagram Button to upload it to Instagram.
Step 6: You have various options to upload the GIF, you can either upload it as a story or feed. Once you tap on either story or direct Feed, make the GIF go live as you would do on any other post.
On Desktop
Step 1: Go to the GIPHY website.
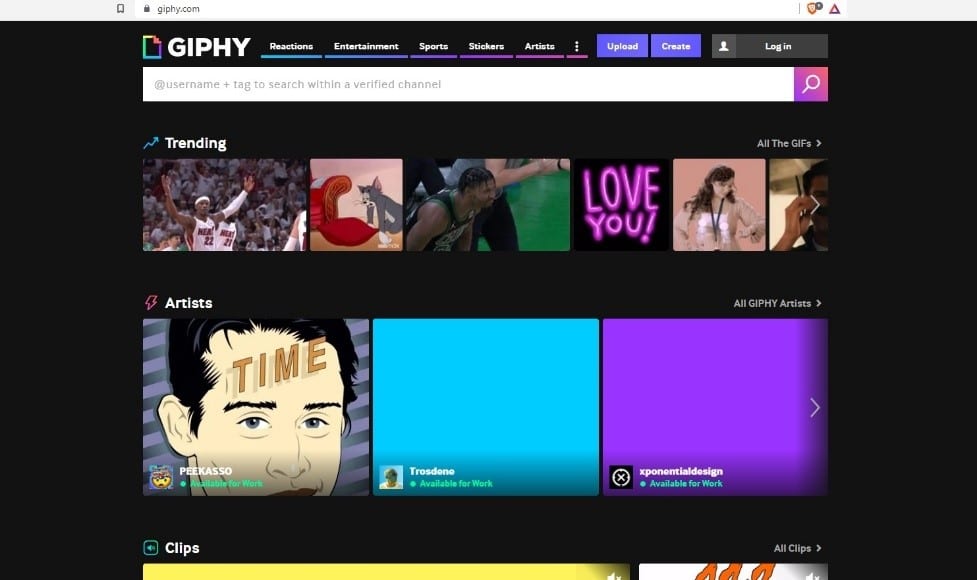
Step 2: Using the search bar, search for a GIF of your choice and open it to go to its details page.
Step 3: Click on the [Share] button on the right side of the GIF.
![Click on the [Share] button on the right side of the GIF](https://www.techuseful.com/wp-content/uploads/2022/05/Click-on-the-Share-button-on-the-right-side-of-the-GIF.jpg)
Step 4: Click on the Instagram icon to share it with yourself
Step 5: A pop-up box will appear on the website; enter your email address and then click the [Send] button.
Step 6: Check your email for the GIF and download it. once downloaded the GIF will be in an mp.4 file
Step 7: Log into your Instagram account through the app's website and upload the GIF as a video through the story or My Feed option.
You can open the email on your phone, download the GIF to your camera roll, and then upload it using the Instagram app in step 6 above.
How to Post Your DIY GIF on Instagram

If you're a DIY-er, chances are you've made an Instagram account to share your work online.
Before we get started, let's talk about what exactly a DIY GIF is. If you're not familiar with this type of file, think of it as an animated image that plays out over time. It might be simple animation like moving clouds or animals running across your screen, or it could be something more complex like an entire video compressed into one image file.
Here's how to post your DIY GIF on Instagram:
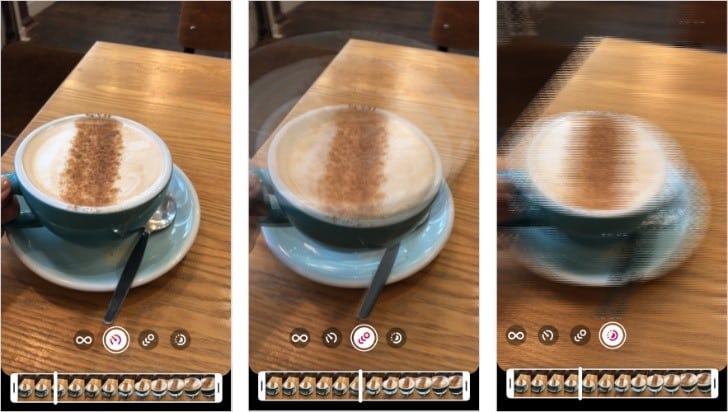
Use Boomerang Feature
Boomerang allows you to share short videos with looping effects so that it looks like a GIF. It also features some additional features like adding stickers or text over these loops. So let's see how we can use the Boomerang feature on our Instagram to share our DIY GIF projects easily!
Step 1: Navigate to Instagram's story section and tap on your profile (the profile will have a blue [+] sign on it.
![Your profile (the profile will have a blue [+] sign](https://www.techuseful.com/wp-content/uploads/2022/05/Your-profile-the-profile-will-have-a-blue-sign.jpg)
Step 2: Use the Boomerang option by sliding your screen to the left. After that, you can make a Boomerang and share it as a story. Boomerang allows you to record a video that plays ahead for a few seconds before looping back in reverse to make a fascinating little looping video.

Step 3: You can also share your Boomerang creation as a Feed by saving it to your camera roll, using the Save button on the bottom left of your screen. Thereafter, you can upload the video to Instagram's direct feed.
Convert GIF to Video
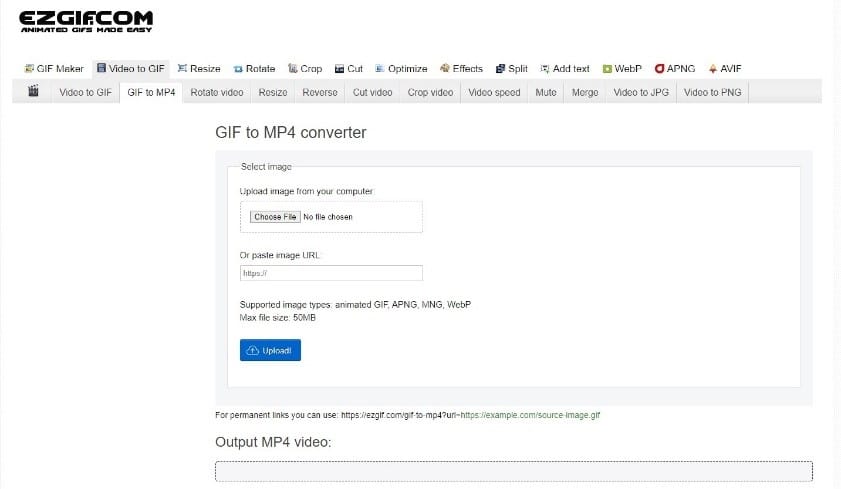
Once you've created your GIF, apart from uploading it by Giphy to Instagram, you can also convert it to a video and share it.
Here's how:
You need to have a software or website that can convert the GIF into a video. We have tried Ezgif.com and found it to be having a very easy-to-use interface.
Step 1: Once the GIF is converted to a video, open your Instagram app and tap on the [+] button.
Step 2: Select the new video you just saved on your camera roll and tap on the [Next] button.
Step 3: On the new page adjust the video cover, and the filter settings to your preference, then tap on the [Next] button again.
Step 4: Add your relative hashtags and captions, then click on share.
Create Your Own GIF with GIPHY
If you have an idea for a GIF that you'd like to share with the world, the first thing you'll need is the right software. You can use the built-in tools on most social media platforms, but it may be easier to use a dedicated service like GIPHY.
Step 1: Using a video recording device, make a recording of what you want to turn into a GIF file.

Step 2: Upload your recording to GIPHY. You can either drag and drop, use the browse file feature or add from a YouTube link.
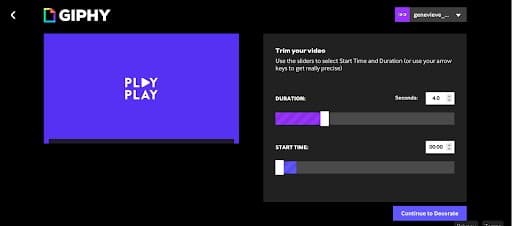
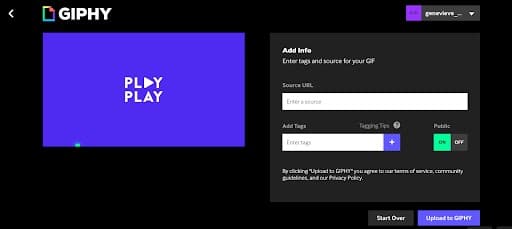
Step 3: Adjust the length and other settings of your video into the GIF you would want it to be. ( You may also add captions and keyword optimization to make it available on GIPHY.)
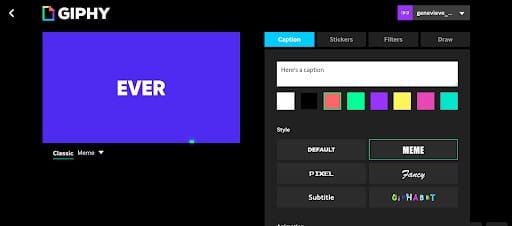
Step 4: When everything is to your liking, click the generate GIF button to be redirected to a new page where your GIF is ready to share on Instagram.
Conclusion
As you can see, it is actually pretty easy to post a GIF on Instagram. Now that you know how to do this, wouldn't it be great if you could use a GIF on your own? They are a powerful tool for making your point, whether it is to show satisfaction, frustration, or just something fun. So give it a try the next time you have a moment to showcase your brand's personality.


